Tiles are a great classic choice for any home renovation or changes. Whether you’re updating your kitchen splashback, installing a new bathroom floor, or brightening up your shower, the right tiles can transform any space. However, selecting, handling, and installing tiles can be scary. In this article, we’ll guide you through the essential steps to ensure your tile project is a success, from choosing the right tiles to ensuring they are installed with care.
Choosing the right tiles
The first step in any tile project is selecting the right type of tile. Here’s a quick guide to help you make an informed decision:
- Understand Your Needs: Consider the function of the space. For high-traffic areas, such as hallways or kitchens, choosing a durable material like porcelain or ceramic is ideal.
- Consider the Aesthetics: Tiles come in a variety of colours, patterns, and textures. Decide whether you want a classic look with neutral tones or something more vibrant and contemporary. Sample tiles are a great way to visualise how they will look in your space. At Tilers Gear, we don’t offer samples however we do stock a range of tiles in our Tile Outlet.
- Know Your Budget: Tiles come in a wide range of prices. Set a budget that includes not only the cost of the tiles but also the adhesive, grout, and any tiling tools you might need.
Handling Tiles with care
Once you’ve chosen your tiles, the next step is handling them correctly to avoid damage:
- Check Before Moving: Before you move your tiles, check them for any chips, cracks, or defects. It’s important to ensure that you have all the tiles you need, including cuts and breakages.
- Store Properly: Store tiles flat in a dry, cool space. Avoid stacking them too high to prevent cracking. Use spacers to keep them level and reduce the risk of damage.
- Handle with Gloves: Always wear gloves when handling tiles to protect them from dirt and oils from your hands, which can affect its application when using adhesives and it’s appearance.
Preparing for installation
Proper preparation is key to a successful tile installation. Here’s how to get started:
- Surface Preparation: Ensure that the surface is clean, dry, and level. For walls, patch any holes or cracks. For floors, check for uneven spots and make necessary adjustments.
- Layout Planning: Plan your layout before you start. Use a chalk line or laser level to ensure straight lines. This will help to make sure that your tiles are evenly spaced and aligned.
- Gather Your Tools: Essential tools for tile installation include a notched trowel, tile spacers, a wet saw or tile cutter, a rubber mallet, grout floats and a tile suction cup (when working with large tiles). Make sure you have everything you need before you start.

The installation process
Now that everything is prepared, it’s time to start laying your tiles:
- Mix the Adhesive: Follow the manufacturer’s instructions to mix your tile adhesive. Use a notched trowel to apply a thin, even layer to the surface.
- Lay the Tiles: We recommend that you start at the centre of the room and work your way outwards. Press each tile firmly into place, using tile spacers to maintain consistent gaps. When it comes to more intricate patterns, be sure to take you time to ensure each tile is aligned correctly.
- Cutting Tiles: Use a tile cutter or wet saw to make precise cuts for edges and corners. Many professional tilers with know that you “measure twice, cut once to avoid mistakes”.
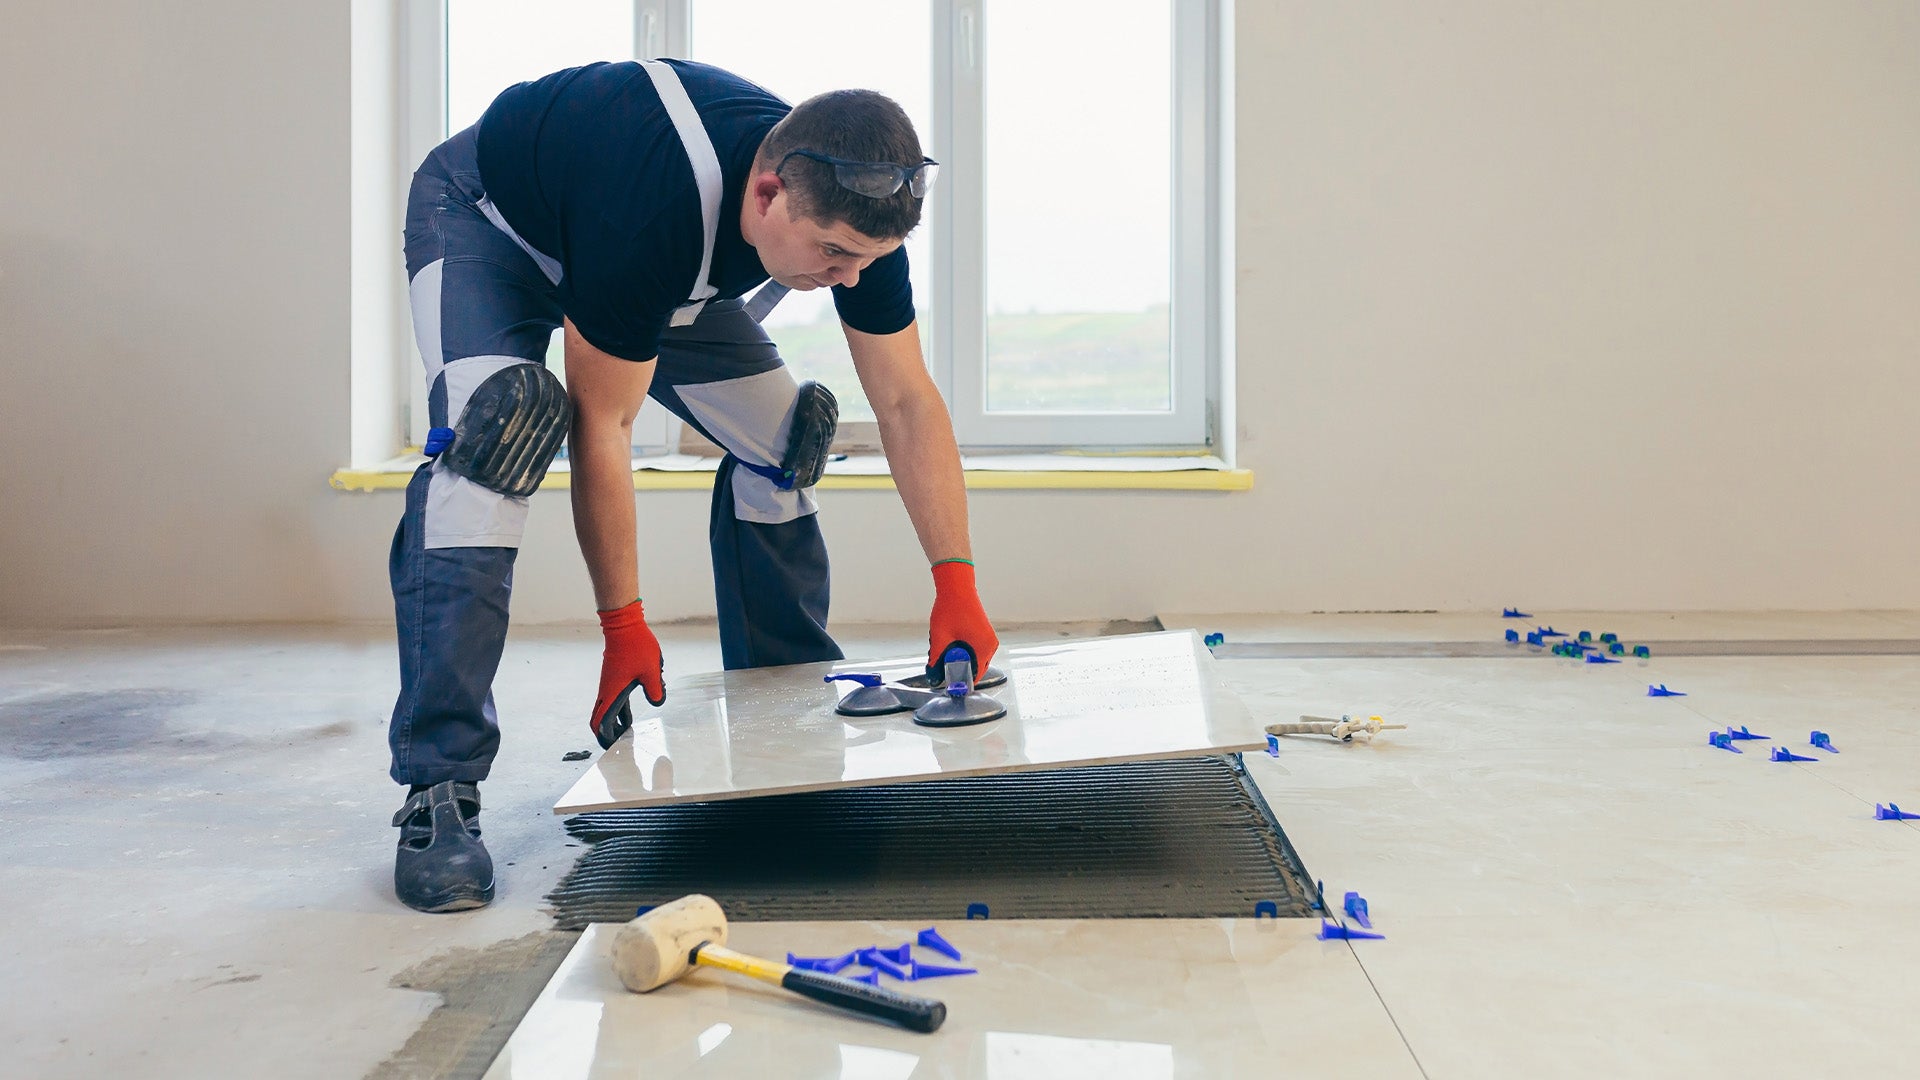
- Working with large tiles: If you have opted for or are looking for a larger tile to use in a bathroom or kitchen, it is essential to have the correct tools. Large tiles can be heavy and difficult to handle, we recommend using a tile suction cup or vacuum to provide a strong grab and high lifting capacity when working above head height. These are often compatible with textured or wet surfaces.
Grouting and sealing
With your tiles now set in place, your next step is grouting:
- Apply the Grout: Once the tile adhesive has set, remove the spacers and apply grout using a rubber float. Spread the grout diagonally across the tiles, pushing it into the gaps. Once you have sufficiently filled the gaps, wipe off any excess grout with a damp sponge.
- Clean and Seal: After the grout has set, clean the tiles with a soft cloth. For added protection, apply a sealant to the grout lines to prevent staining and against moisture absorption.

Maintaining Your Tiles
Proper maintenance will keep your tiles looking fresh for years to come:
- Regular Cleaning: Sweep or vacuum regularly to remove dirt and debris. Use a mild detergent and warm water for a deeper clean, avoid any harsh or heavy chemicals that can damage your tiles.
By choosing the right tiles, handling them with care, and following proper installation steps, you can achieve stunning results that enhance the beauty and functionality of your space. Whether you’re a seasoned DIY enthusiast or a first-time installer, these tips will help you navigate your tile project with confidence.
Watch this video from UltraTile for a visual walk-through of using their ProGrip FX Adhesive
FAQs about tile handling
What type of tiles are best for high-traffic areas?
For high-traffic areas, porcelain and ceramic tiles are the most popular choice due to their durability and resistance to wear.
How do I ensure my tile layout is even?
We recommend using a chalk line or laser level to mark straight lines, and use tile spacers to maintain consistent gaps between tiles.
What should I do if a tile gets damaged after installation?
No one likes a damaged tile and it might seem easier to leave it. However, If a tile gets damaged you can remove and replace it. Begin by removing the grout around it, replace the tile with a new undamaged one, and reapply grout once the tile is set.