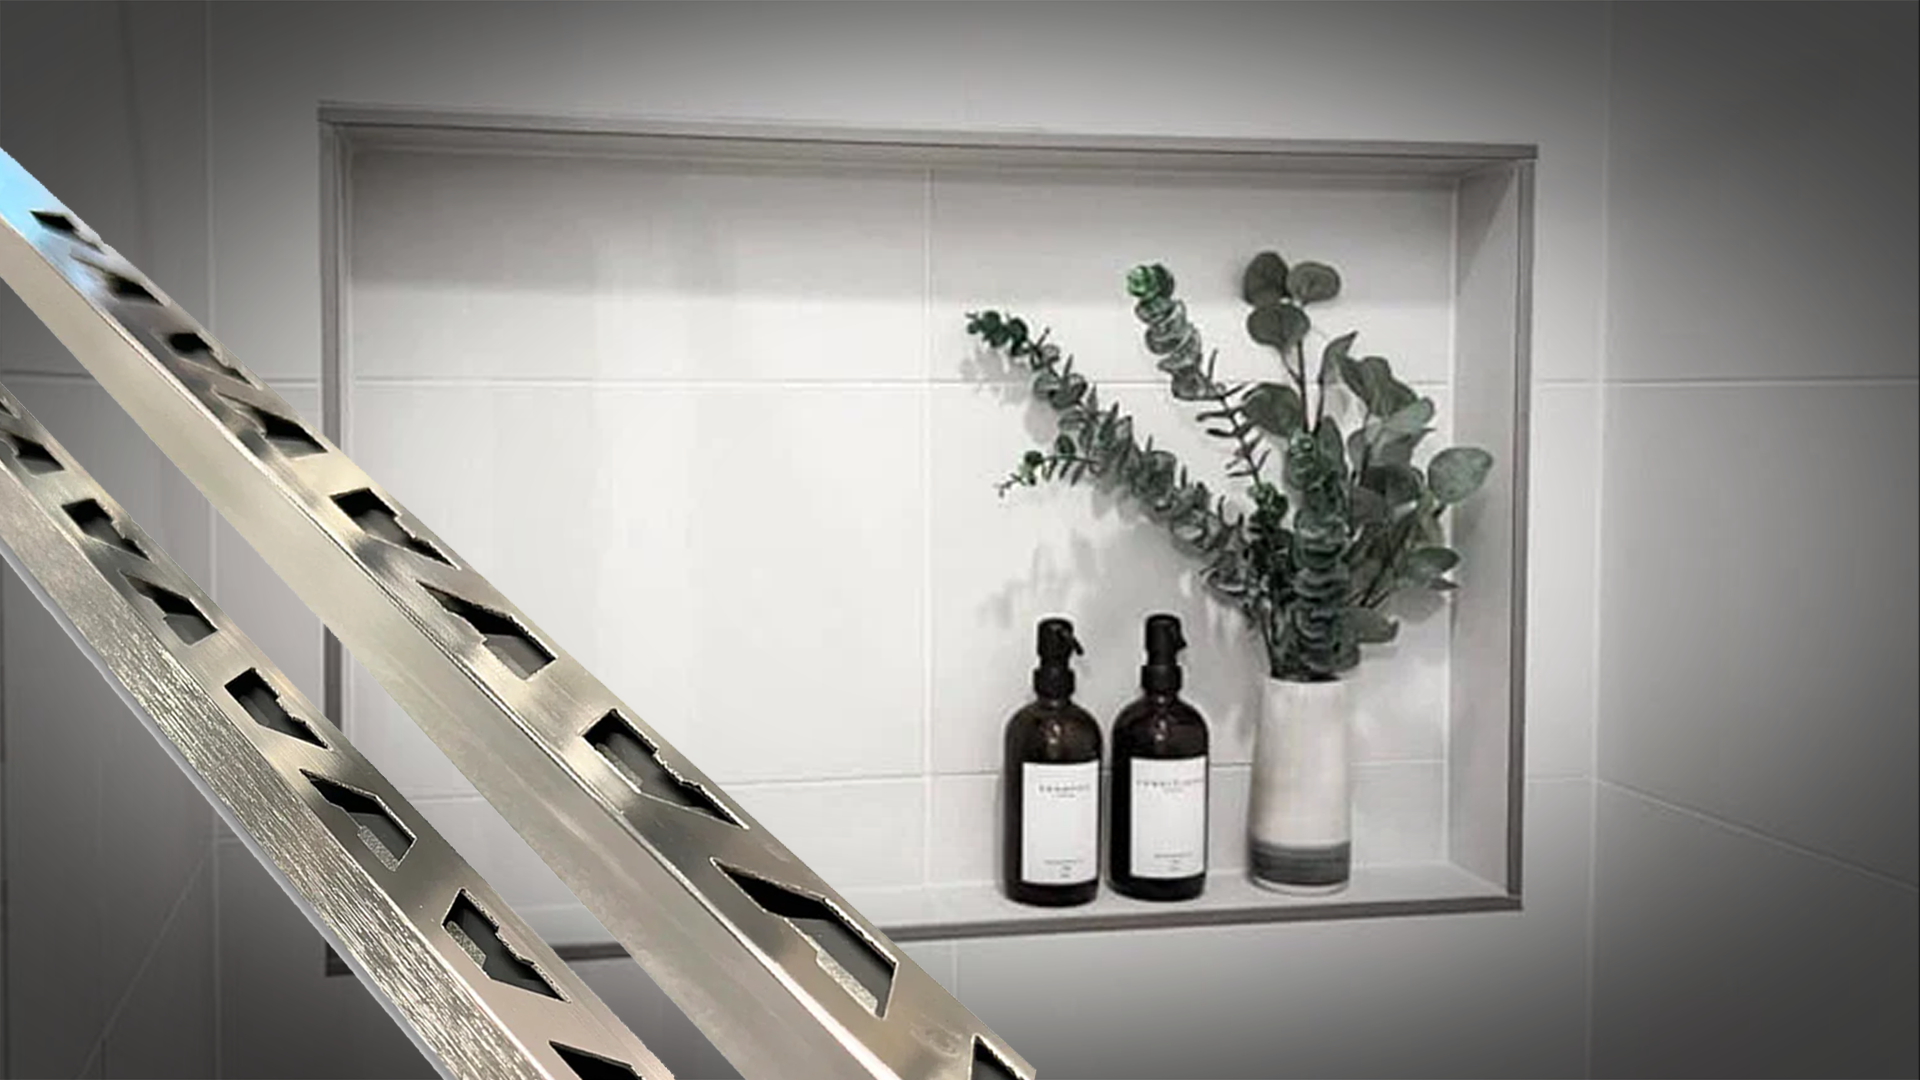
Best Selling Tile Trims
Tilers Trim - Aluminium Chrome & Brushed Chrome Straight Edge Tile Trim
These best selling trims are an Aluminium profile for protecting and finishing tiled corners and edges. Provides a decorative finish and protects adjacent tile edges. Each time comes in 2.5m lengths. These large items take careful and unique packaging for delivery via large cylinder or cube shapes tubes ensuring the tile trim arrives un damaged and fit for purpose.
View our most popular Tile Trims
Aluminium Chrome Straight Edge 10mm - HEREBrushed Chrome Straight Edge 10mm - HERE
Our if you are looking for an alternative finish view our complete collection of hundreds of different tile trims - HERE
How Are Tile Trims Measured To Fit My Tile?
Tile Trims are measured from the inside of the trim to the top edge of the trim so your tile can fit seamlessly in the trim giving a lippage free finish as shown in the diagram below.
What Are Straight Edge Tile Trims?
Straight edge tile trims, also known as square edge trims, are metal or plastic strips designed to provide a neat, finished edge to tiled areas. Unlike rounded or bullnose trims, straight edge trims offer a sharp, 90-degree angle, which creates a contemporary look that complements modern design aesthetics.

Benefits of Straight Edge Tile Trims
1. Sleek and Modern Look
The primary appeal of straight edge trims lies in their ability to produce a crisp, clean line. This minimalist approach enhances the overall appearance of tiled areas, making them look more professional and polished.
2. Protection for Tile Edges
Tiles, especially those made from delicate materials like ceramic or porcelain, can chip or crack along the edges. Straight edge trims provide a protective barrier that helps prevent damage, ensuring your tile installation lasts longer.
3. Versatility in Design
Straight edge trims are available in a variety of materials, including aluminium, stainless steel, and PVC, and come in multiple finishes such as brushed, polished, or matte. This versatility allows you to match or contrast the trim with your tiles, achieving the desired look for your space.
4. Ease of Installation
Installing straight edge tile trims is relatively straightforward, making them a favourite among DIY enthusiasts and professional tilers alike. They can be easily cut to size and are typically installed using standard tile adhesive or thin-set mortar.
Expert Tips - Choosing the RightTile Trim
Selecting the right trim involves considering several factors:
Material and Finish
Choose a material that complements your tile and overall design theme. For a sleek, modern kitchen, stainless steel or brushed aluminium trims might be ideal. For a more traditional look, PVC trims in a complementary colour could be a better choice.
Height and Width
Ensure the trim height matches the thickness of your tiles to achieve a flush finish. The width of the trim should also be proportionate to the size of your tiles to maintain balance in your design.
Colour Coordination
If you want the trim to blend seamlessly with your tiles, select a colour that matches. For a bold, contrasting look, opt for a trim colour that stands out against the tile colour.
Installation Tips
-
Measure Accurately Measure the length of the tile edges that will require trim, and cut the trim to the correct size using a hacksaw or trim cutter. Ensure precise cuts to avoid gaps or uneven edges.
-
Apply Adhesive Apply tile adhesive or thin-set mortar to the area where the trim will be placed. Ensure an even layer to avoid lumps or bumps.
-
Position the Trim Press the trim into the adhesive, ensuring it is level and aligned with the tiles. Use spacers if necessary to maintain even spacing between the tiles and the trim.
-
Install Tiles Begin tiling from the trim edge, pressing each tile firmly into the adhesive and aligning it with the trim. Check periodically to ensure the tiles are level.
-
Grout the Joints Once the adhesive has set, apply grout to the joints between the tiles and the trim. Wipe away any excess grout with a damp sponge, ensuring a clean finish.


