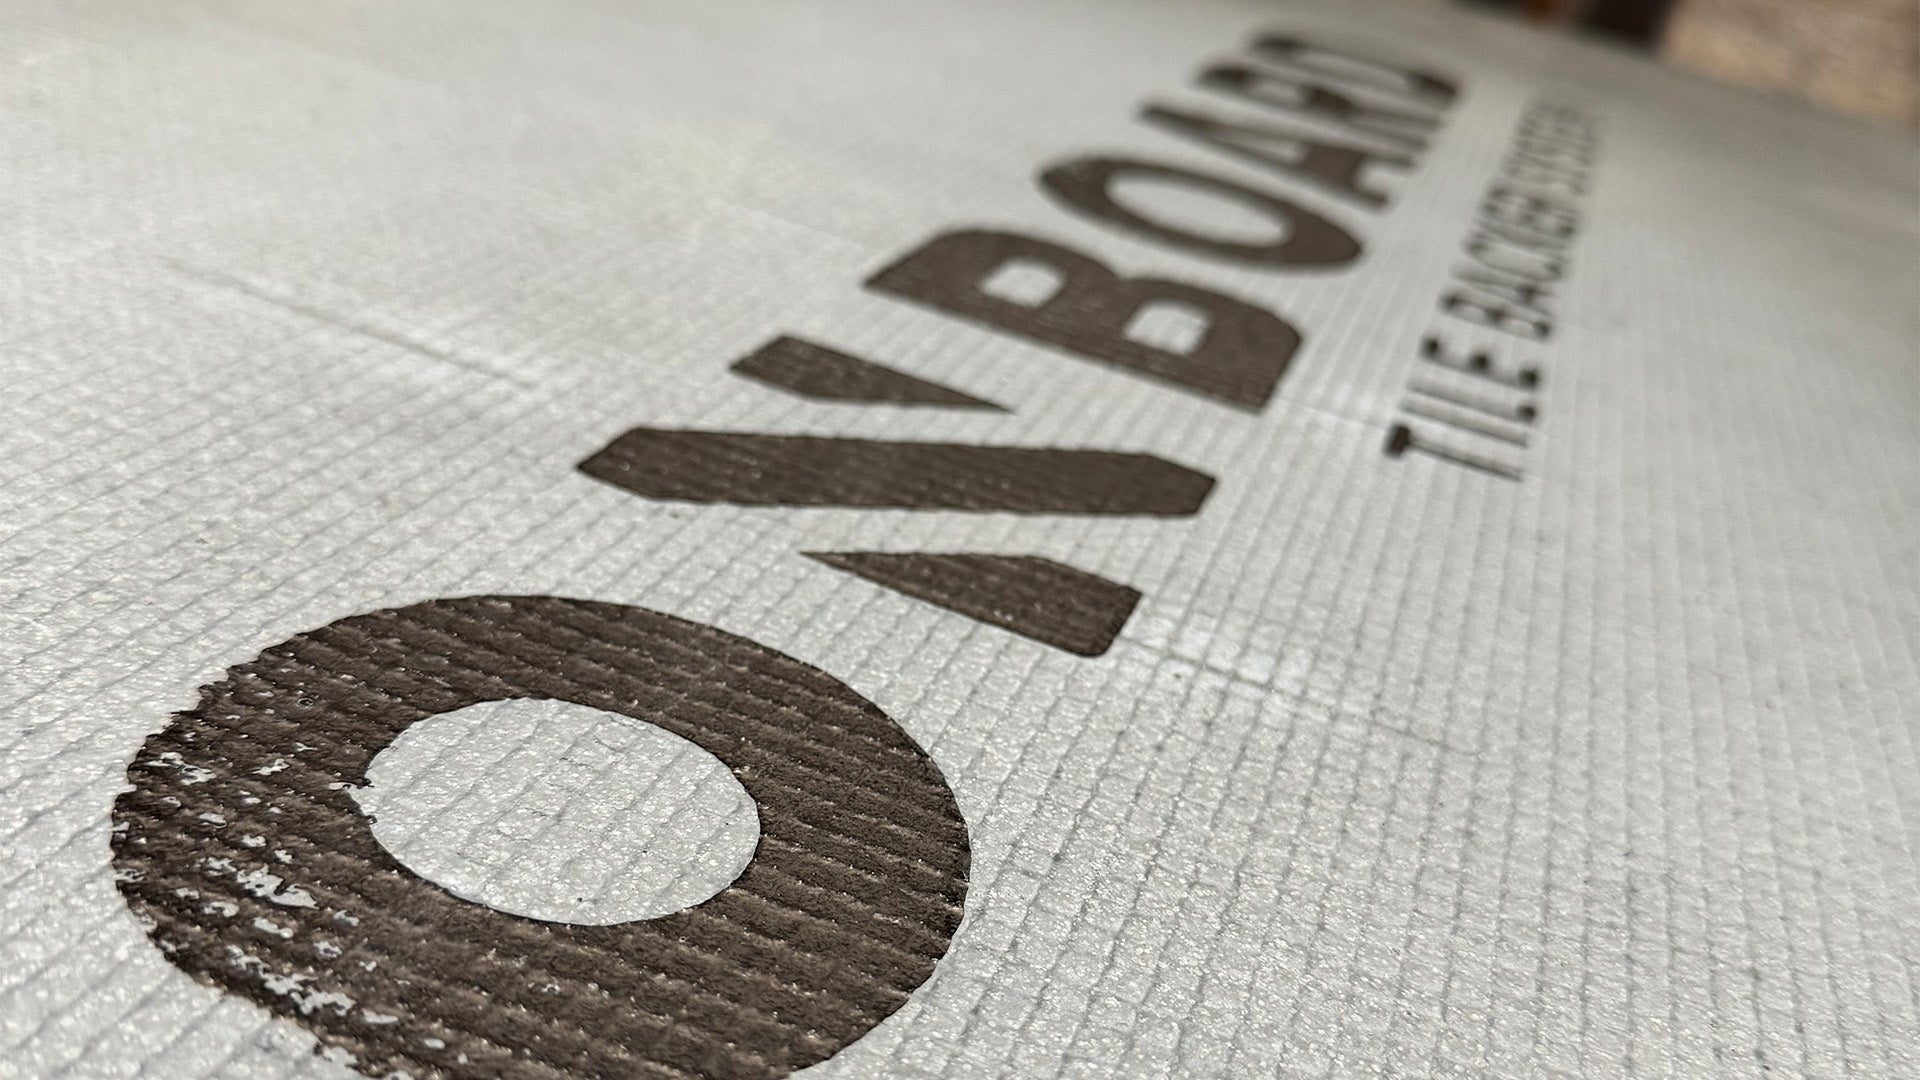
When it comes to tiling projects, choosing the right materials can make all the difference. One of the most critical components of any tiling job is the tile backer board, which provides a strong, stable surface for tiles to adhere to. Tilers Gear's onboard tile backer board is an excellent choice for both professionals and DIY enthusiasts, offering durability, formability, moisture resistance, and ease of use.
In this blog post, we'll explore the best ways to use Tilers Gear's onboard tile backer board to achieve flawless results in your tiling projects.
Why Choose Tilers Gear Onboard Tile Backer Board?
Before diving into the best practices, let's take a quick look at why Tilers Gear's onboard tile backer board is an outstanding choice:
- Moisture Resistance: Unlike traditional plasterboard or plywood, Tilers Gear's onboard backer board is specifically designed to resist moisture, making it ideal for bathrooms, kitchens, and other wet areas.
- Insulation: Onboard Tile Backer Board is a great insulator, making it perfect for bathrooms, however, when using underfloor heating it is advised to either tile directly on top or on top of screed.
- Durability: Made from high-quality materials, this backer board provides a sturdy foundation that prevents cracks and damage over time.
- Lightweight and Easy to Cut: Tilers Gear's onboard backer board is lightweight and can be easily cut to size, making installation straightforward and less labour-intensive.
- Enhanced Adhesion: Its surface texture is designed to enhance adhesion, ensuring tiles stay securely in place for years to come.
Best Ways to Use Tilers Gear Onboard Tile Backer Board
To get the most out of Tilers Gear's onboard tile backer board, here are some expert tips and best practices:
- Proper Planning and Preparation
Before installing the backer board, make sure you have a clear plan for your tiling project. Measure the area carefully to determine the number of backer boards you will need. Remember to account for cuts around edges, corners, and fixtures such as sinks or outlets.
Pro Tip: Draw a layout on paper to visualise the placement of each tile and backer board. This will help you avoid mistakes and minimise any waste.
- Cutting the Backer Board Correctly
One of the key advantages of Tilers Gear's onboard backer board is its ease of cutting. Use a utility knife or a scoring tool to make straight cuts.
Pro Tip: Score the board lightly first, then apply more pressure to cut through it completely.
- Secure Installation with the Right Fasteners
To ensure that your installation is secure, use fit for purpose screws and washers specifically designed for cement backer boards. Space the screws about 6-8 inches apart along the edges and every 8-12 inches in the centre of the board. Make sure the screws are flush with the surface but not over-tightened, as this could damage the board.
Pro Tip: Apply a layer of adhesive on the floor before placing the backer board. This will fill any gaps and create a stronger bond between the board and the existing floor.
- Use Tape for Reinforced Joints
To prevent cracks and ensure a waterproof surface, use mesh tape on all seams between the backer boards. Apply a thin layer of adhesive over the tape to set.
Pro Tip: Let the adhesive dry completely before proceeding with tile installation to ensure a smooth and stable surface.
- Apply Waterproofing Membrane for Wet Areas
While Tilers Gear's onboard backer board is moisture-resistant, it's a good idea to add an extra layer of protection in areas exposed to significant water, such as showers or wet rooms. Apply a waterproofing membrane over the entire surface of the backer board, following the manufacturer's instructions. You can do this with our OnBoard Waterproofing Kit, suitable for up to 10m2
Pro Tip: Focus on corners, edges, and any penetrations where water could seep through. Allow the membrane to cure fully before starting the tile installation.
- Ensure Proper Tile Adhesion
For the best results, use a high-quality thin-set adhesive compatible with your chosen tiles. Apply the adhesive with a notched trowel, using the flat side to spread a thin layer first, then the notched side to create ridges. Press the tiles firmly into the adhesive, using spacers to maintain consistent gaps and height.
Pro Tip: Work in small sections to prevent the adhesive from drying out before you place the tiles. Keep a bucket of clean water and a sponge nearby to wipe off any excess adhesive from the tile surface.
- Grouting and Finishing Touches
Once the tiles are in place and the adhesive has set, it's time to grout. Choose a grout that matches your tile and use a rubber float to press it into the gaps. Wipe away excess grout with a damp sponge and allow it to cure for the recommended time.
Pro Tip: Seal the grout lines with a high-quality grout sealer to protect against stains and moisture. This step is especially important in wet areas to keep them looking as good as new.
Additional Tips for Using Tilers Gear Onboard Tile Backer Board
- Check for Flatness: Ensure that the subfloor is level and free of debris before laying the backer board. An uneven surface can lead to cracked tiles and poor adhesion.
- Mind the Gaps: Leave a small gap (3mm) between the backer board and the walls or fixtures to allow for natural expansion and contraction. Fill these gaps with a flexible sealant after installation.
Conclusion
Tilers Gear's onboard tile backer board is a versatile and reliable choice for any tiling project, offering superior moisture resistance, formability, durability, and ease of use. By following these best practices, you can ensure a flawless installation that will stand the test of time. Whether you're renovating a bathroom, updating a wet room, or tackling a larger tiling project, Tilers Gear's onboard tile backer board will help you achieve professional-quality results with confidence.

