Laying tiles that are perfectly level is crucial to achieving a professional and visually appealing finish for any tiling project. Whether you're a seasoned DIY enthusiast or a professional contractor, having the right equipment is essential to ensure the tiles are installed accurately and uniformly. In this blog, we will discuss the key equipment you need to achieve level tile installations and some handy tips for a successful tiling project.
Levelling tools are the backbone of any successful tile installation. These tools help you maintain a consistent level across the entire surface. Here are some essential levelling tools:
a. Spirit Level: A spirit level is a simple yet effective tool for determining whether a surface is level or not. It consists of a glass tube filled with liquid, a bubble, and a graduated scale. Choose a long spirit level for larger tiling projects and a shorter one for smaller areas.
b. Laser Level: For larger or more complex projects, a laser level can be incredibly handy. It projects a level line across the surface, ensuring precision and accuracy when placing tiles.
c. Cross-Line Laser: This type of laser level projects both horizontal and vertical lines, creating a crosshair effect. It is particularly useful for aligning tiles in both directions.
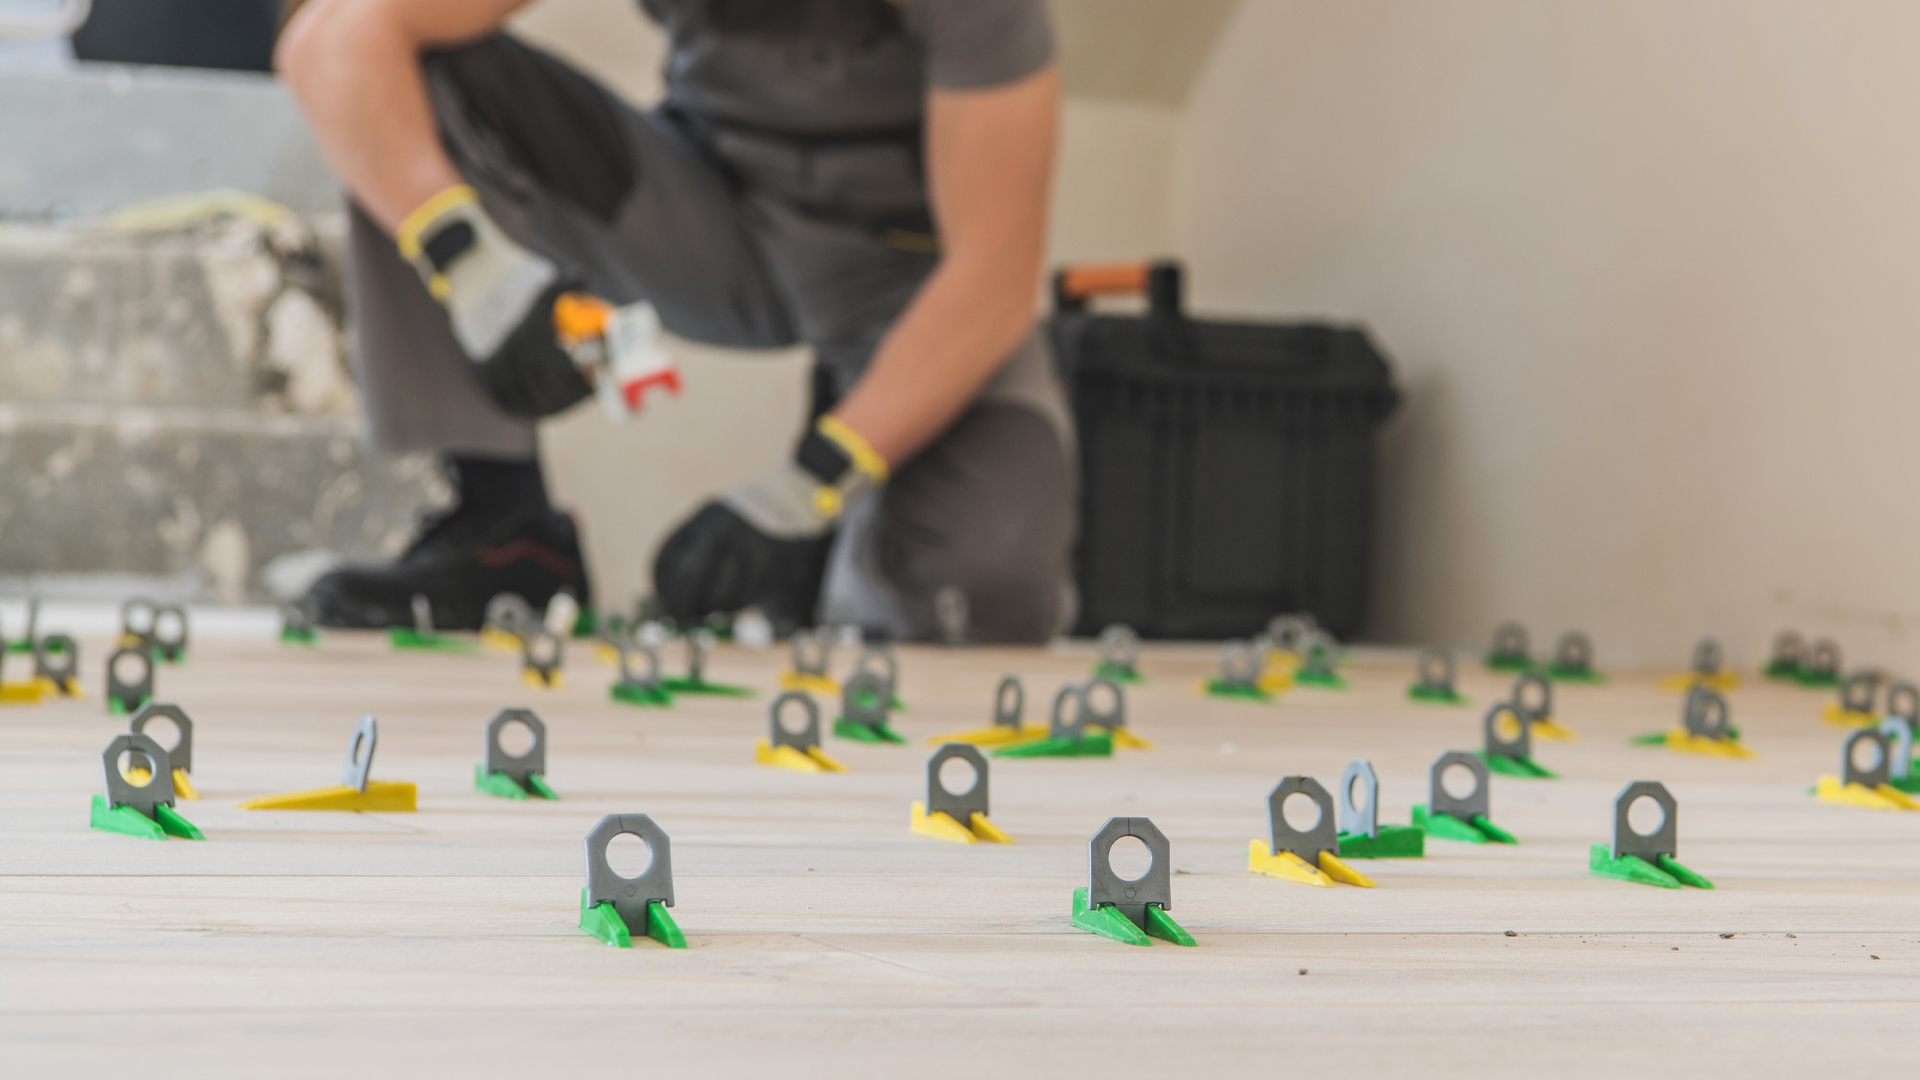
Tile spacers are small, plastic pieces that ensure even gaps between tiles. These gaps, also known as grout lines, provide a clean and uniform appearance. Choose tile spacers of the appropriate size based on your tile dimensions and desired grout line width.
Trowels are used to apply adhesive (thin-set mortar) to the surface before laying the tiles. The size and shape of the trowel notches determine the amount of adhesive applied. Choose a trowel that matches the recommended notch size for your specific tile type.
A tile cutter or wet saw is essential for cutting tiles to fit around edges, corners, and fixtures. There are various types of tile cutters available, such as manual tile cutters and electric wet saws. Ensure you have the appropriate cutter for the tile material you're using.
The notched trowel is used to create ridges in the adhesive on the back of the tile during the installation process. This ensures proper adhesion and prevents air pockets that may cause the tiles to become uneven.
- Rubber Mallet
A rubber mallet is used to gently tap the tiles into place, ensuring they are level and firmly adhered to the adhesive. Avoid using a metal hammer, as it could damage the tiles.
- Tile Nippers
Tile nippers are essential for making small, precise cuts on tiles. They are particularly useful for shaping tiles around irregular obstacles like pipes or outlets.
Once the tiles are laid, a grout float is used to apply grout into the spaces between the tiles. It helps push the grout into the gaps and smooth the surface.
Tips for Achieving Level Tile Installations:
-
Prepare the surface: Ensure the surface is clean, dry, and free from any debris or contaminants. Use a levelling compound to correct any unevenness before tiling.
-
Plan your layout: Measure and plan your tile layout carefully before starting the installation. This will help you identify potential problem areas and ensure a balanced design.
-
Work in small sections: It's best to work in small sections, applying adhesive and laying tiles in manageable portions. This ensures the adhesive remains workable, and you can easily adjust tiles for a level finish.
-
Check for level frequently: Regularly use your spirit level or laser level to check that the tiles are level both horizontally and vertically.
-
Take your time: Precision and patience are key to achieving level tile installations. Rushing the process can lead to mistakes and uneven results.
Achieving level tile installations requires the right equipment and attention to detail. By investing in essential levelling tools, using proper techniques, and taking your time, you can ensure a flawless and professional-looking tile project. So, equip yourself with the necessary tools and get ready to transform your space with beautiful, level tiles that stand the test of time. Happy tiling!